Of course, The Legend of Zelda: Tears of the Kingdom is going to be a truly massive game. After all, how could it not be? Its predecessor, The Legend of Zelda: Breath of the Wild, is one of the most expansive open-world games ever released. Naturally, a direct sequel to one of the biggest and best The Legend of Zelda games ever will have to go bigger if it wants to outdo such a monumental forebearer.
Luckily Tears of the Kingdom more than fits the bill. With a floating sky-bound world to explore on top of the changing Hyrule landscape that we’re already somewhat familiar with, this follow-up is already shaping up to be a serious 2023 Game of the Year contender. Naturally, the expansions to the formula of the previous game include not only more Shrines for you to solve but also new abilities that you’ll have to master in order to do so.
So you’d better bring all of your brain cells and a hefty dose of creativity because otherwise, you’re going to be struggling. However, if you are having a tough time, you’ll be happy to know that we’re here to make it as easy as possible for you. Here, we’ve included not just the Shrines that we’ve found in Hylian Field so far, but also their solutions. Furthermore, we’ll be adding even more to the list as we discover further Shrines in the region.
Other The Legend of Zelda: Tears of the Kingdom Guides:
Elixir Guide | Cooking Guide | Secret Mount Guide | Surviving Cold Weather | Surviving the Gerudo Desert | Beginner’s Guide | How to Reunite Koroks Guide | Lookout Landing Shrines and Solutions | How to Solve Ekochiu Shrine | How to Solve Tajikats Shrine
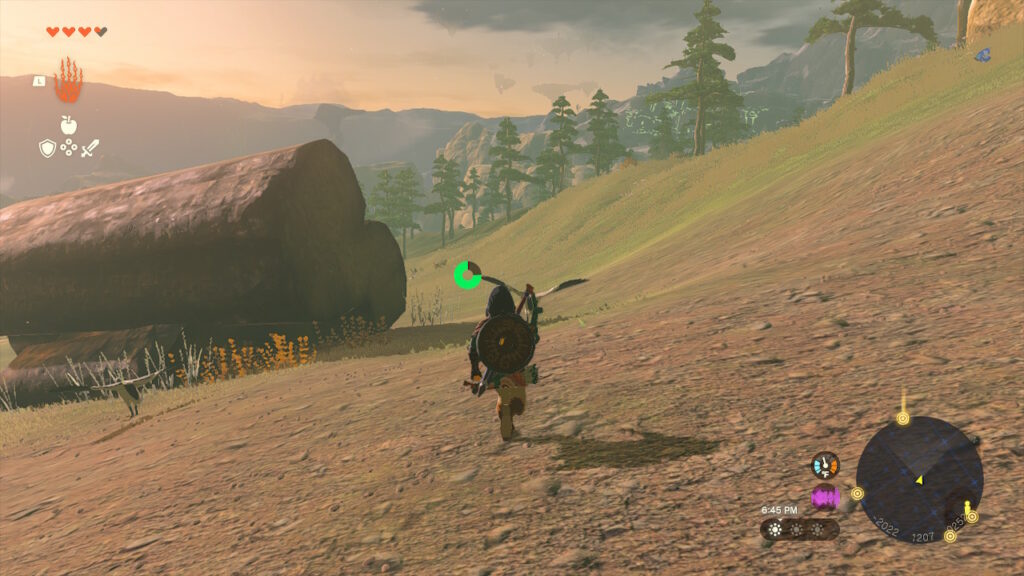
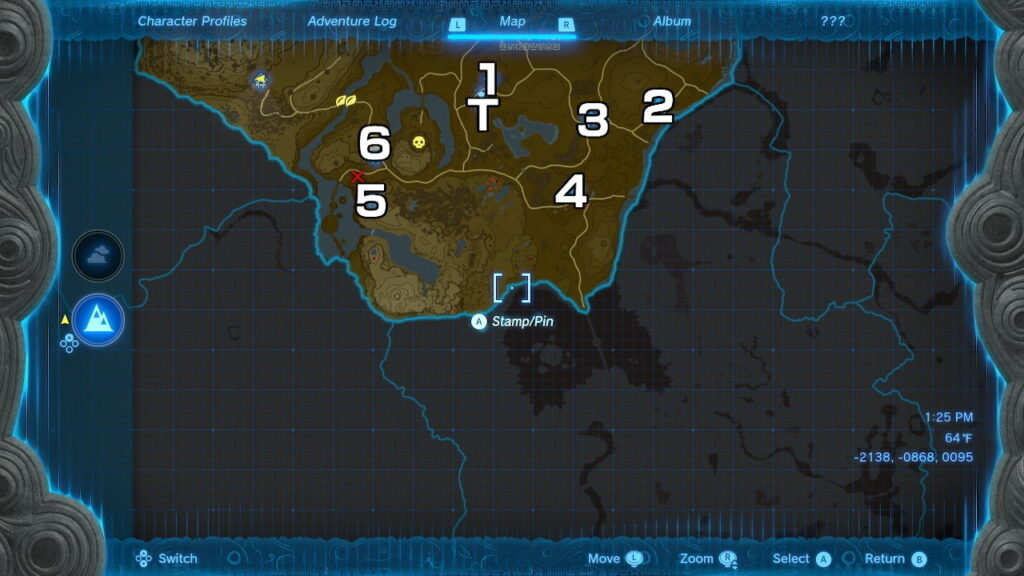
All Shrine Locations in The Legend of Zelda: Tears of the Kingdom — Hylian Field (So Far…)
1. Mayachin Shrine (A Fixed Device)
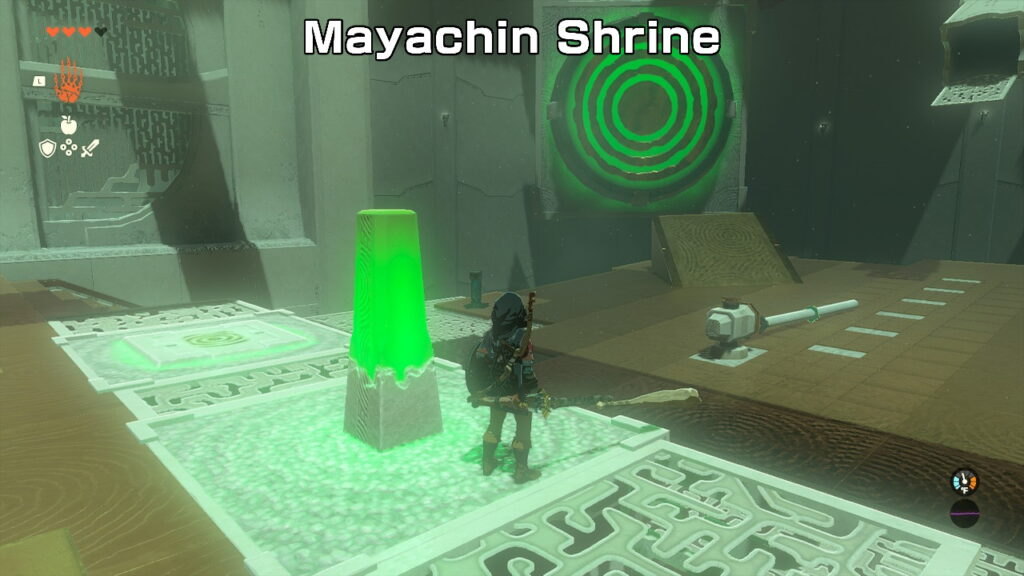
Jump across the rotating platform and then run across the room to step on the square tile and reveal a bullseye on the wall by the ramp. Now, you’ll see that striking the nearby obelisk will cause the small contraption in the middle of the room to rotate back and forth.
Basically, what we have to do here is create a giant pinball flipper. To do so, you’re going to want to attach the two white cylinders end to end to make a really long stick. Now attach one of those spikes with the spike facing outward. The spike can be connected or inserted into the movable contraption.
We’ve included a picture to show you how it should look. Once it’s in place, time your strike with the ball, and it should hit the bullseye after a few attempts. Just experiment with the timing, and it will hit eventually.
2. Tajikats Shrine (Building with Logs)
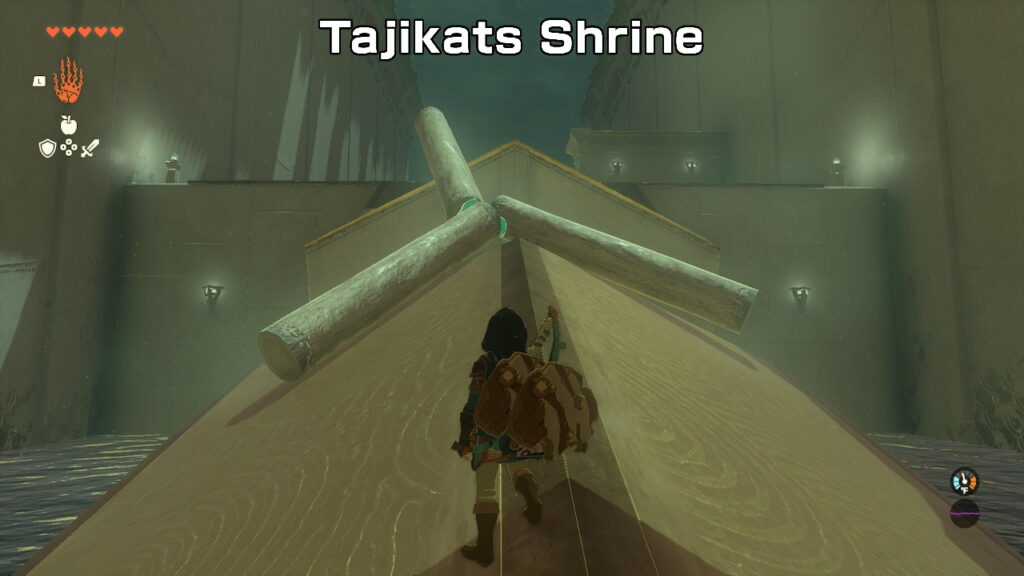
Please see the above link in the Guides section for how to solve this one, as we made a special post about it.
3. Teniten Shrine (Combat Training: Throwing
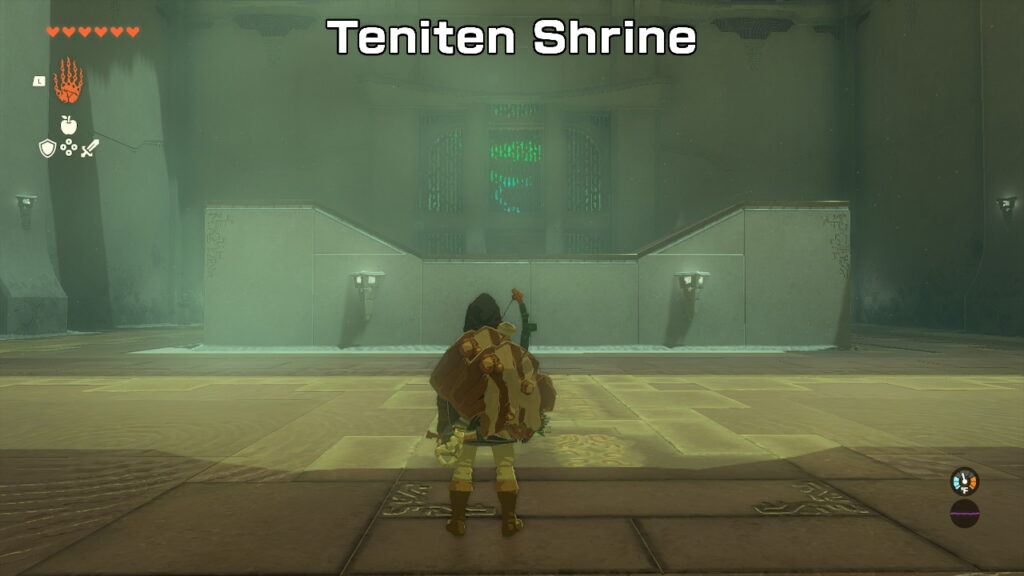
This is another combat Shrine. Choose carefully which weapons you want to throw at the enemy combatant, as they will likely be broken. If you miss and your weapon gets trapped up on the platform, you can use Ultrahand to grab it back.
4. Kamizun Shrine (Proving Grounds: Beginner)
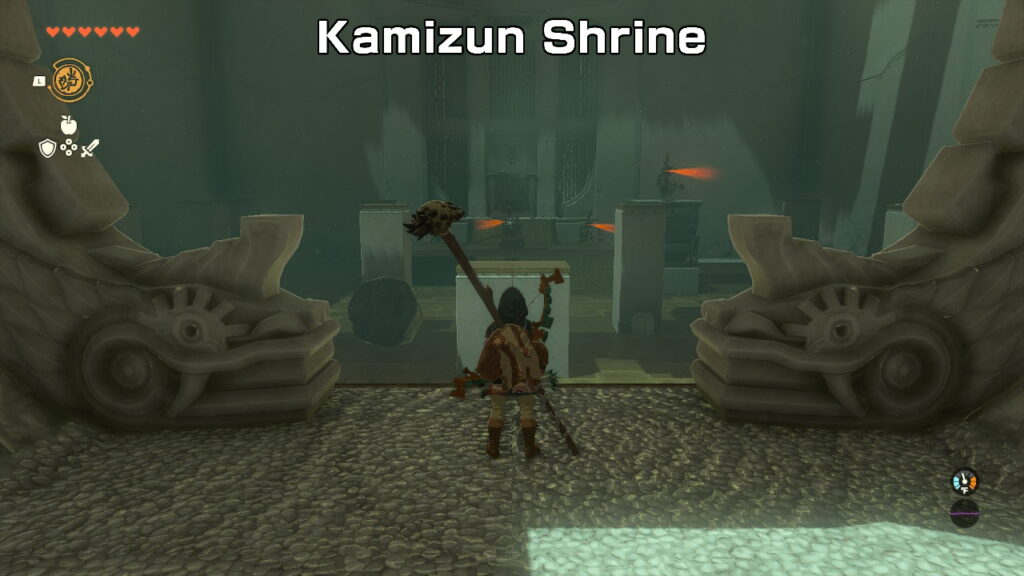
In this Shrine, you must use the equipment provided in order to defeat all of the enemies without dying. If you die, you’ll have to start over, so play smart. There is a very easy way to accomplish this. First off, you’ll want to use the provided bow and arrow to shoot the robots in the eye.
This takes off a lot of damage and can even outright kill a few of them. Honestly, if you’re careful with your shots, this is enough to take out most or all of them. Once you’re out of arrows, you can try to use Ultrahand to drop the boulder on the survivors or build a powerful weapon out of the materials that were being guarded in the center of the room.
5. Tsutsu-um Shrine (The Stakes Guide You)
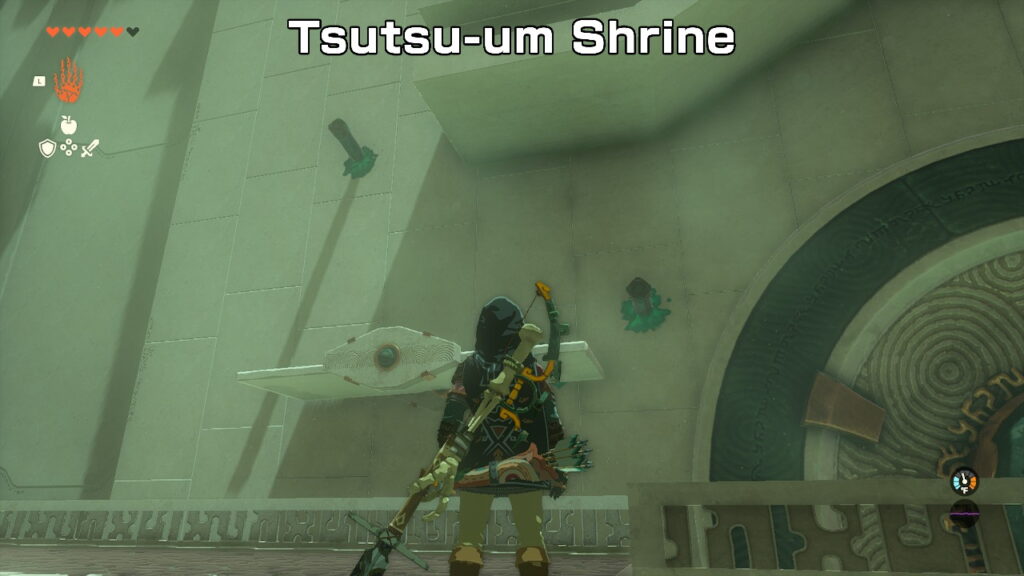
While this one might be a bit confusing at first, what you want to do is pick up the stake that’s been fused to a metal plate and jam it into the side of the moving column somewhere near the bottom. Now time your jump, and you’ll be up to the next level. Next, you can use the gust of wind to get a better vantage point of the puzzle.
Essentially, what you want to do is place a stake in front of where the ball is coming out, then use another one to stop the spinning platform so that it’s angled to the right. Now the ball will fall onto the platform and then get grabbed by the mechanism. However, it will be stuck at the bottom.
To solve this problem, simply remove one of the stakes and place it on the rotating circle so that it will push the ball the rest of the way out and into the waiting hole on the other end. It’s a little tricky but definitely doable.
6. Riogok Shrine (Force Transfer)

The first thing that you want to do here is use the white cylinder to attach the two gears together by placing it so that it’s on the outside of both gears (not in the center). Then strike the obelisk to open the door. In the next room, grab the white cylinder and attach it to the right side of the switch on the ground. Now grab it with Ultrahand and move it to the left to open the door.
Now you’ve got two white cylinders. Attach them together and then attach them to the bottom of the two platforms. Make it so that they’re sticking out quite a bit. As the clockwork platform rotates, it will catch the stick and your other platforms and raise them up. Now use your Ascend ability to pass through the platforms and get yourself almost to the top.
The final solution is to lift up the smaller of the two platforms while you’re standing on the larger one. Finally, use your Recall ability while standing on the smaller platform to lift Link up to the last level and clear this confounding Shrine once and for all.